
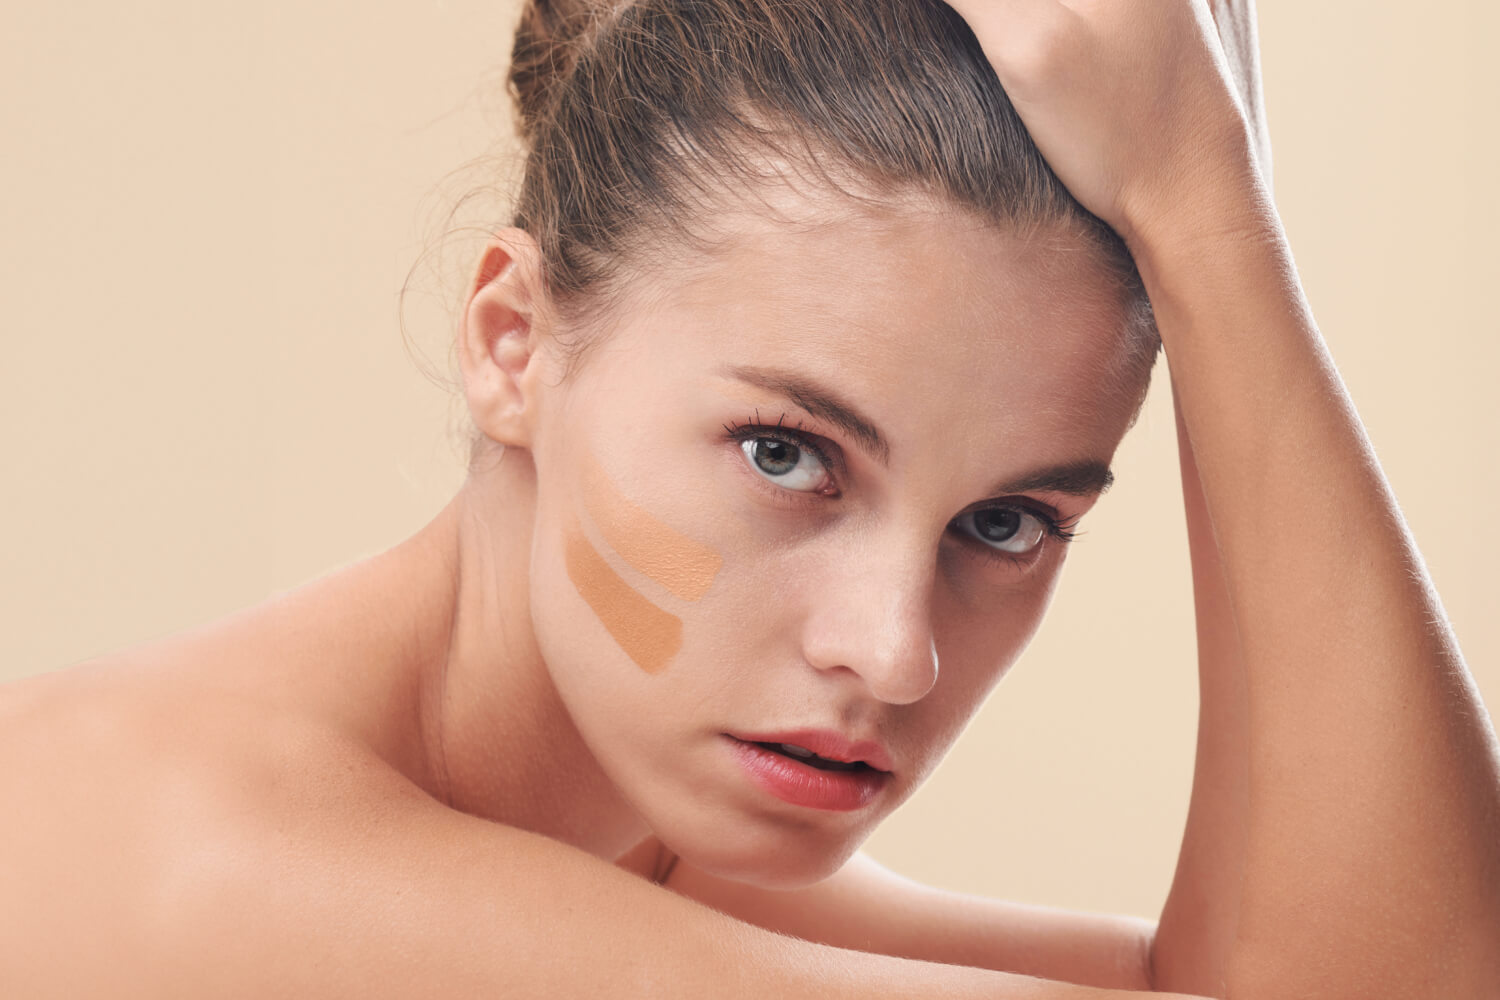
Choosing the perfect foundation shade used to be a total headache for me. I remember buying a foundation that looked great in the store, but when I got home and looked in natural light, it was either too pale and made me look ghostly, or too dark and didn’t match my skin at all. After years of trial and error, I finally figured out some simple tricks that make picking the right shade so much easier—no more wasting money on foundations that end up collecting dust in my makeup bag.
First, you need to figure out your skin undertone, because that’s the key to finding a foundation that blends seamlessly with your skin. There are three main undertones: cool, warm, and neutral. Cool undertones have a hint of pink, red, or blue—if you look at the veins on your wrist, they’ll probably look blue or purple, and you might burn easily in the sun. Warm undertones have a yellow, peach, or golden hue; your veins will look greenish, and you tend to tan instead of burning. Neutral undertones are a mix of both cool and warm—your veins might look somewhere between blue and green, and most foundation shades will suit you pretty well. I used to think I had cool undertones until I checked my veins and realized they’re more greenish, which explained why all the pink-toned foundations I bought never looked right.
Once you know your undertone, the next step is testing the foundation correctly—and no, testing it on your face isn’t the way to go. The best place to test foundation is on your neck, right along the jawline. Your face can be lighter or darker than your neck (mine is always a little lighter because of sunscreen), so testing on your neck ensures the shade matches the rest of your body. Also, make sure you check the shade in natural light, not just the store’s fluorescent lights. Fluorescent lights can make shades look different—too warm or too cool—and you might end up picking a shade that looks weird outdoors. I once tested a foundation in a drugstore under bright lights and thought it was perfect, but when I walked outside, it was way too orange. Now I always step outside for a minute to check before buying.
Even if you pick the right shade, there might be times when you need a little extra coverage or brightness—and that’s where concealer comes in. I don’t like using a foundation that’s too heavy, so I usually go for a light to medium coverage foundation and then use a concealer to brighten areas like under my eyes, around my nose, and on my forehead. Just make sure the concealer is one shade lighter than your foundation, so it doesn’t look ashy. I tap the concealer with my finger first to warm it up, then blend it in—this makes it look more natural, not like a patch of lighter skin on my face.
Finally, the tools you use to apply foundation can make a big difference in how it looks. I used to use my fingers, but the foundation never blended evenly and always looked patchy. Now I swear by beauty sponges and makeup puffs. A damp beauty sponge is perfect for blending foundation seamlessly—it presses the foundation into your skin instead of dragging it, which gives a more natural, dewy finish. Makeup puffs are great for a more matte look, especially if you have oily skin. I usually use a beauty sponge for everyday wear and a makeup puff when I want my foundation to last longer, like on a night out.
Choosing the right foundation shade isn’t about being perfect—it’s about finding something that makes you feel comfortable and looks like your skin, just better. Take your time to test shades, pay attention to your undertone, and don’t be afraid to ask for help if you’re unsure. With these little tricks, you’ll never have to struggle with the wrong foundation shade again.